Getting Started
This guide will help you install and configure ArcPass in under 5 minutes.
Prerequisites
Before starting, ensure your server meets these requirements:
| Requirement | Minimum Version |
|---|---|
| Minecraft Server | Paper 1.18+ / Spigot 1.18+ / Folia 1.20+ |
| Java | 17 or higher |
| License | Valid ArcPass license key |
Optional Dependencies
| Plugin | Purpose |
|---|---|
| Vault | Economy system support |
| PlaceholderAPI | Placeholder variables |
| LuckPerms | Permission rewards |
Step 1: Install the Plugin
- Download the latest
ArcPass-x.x.x.jarfrom the download page - Place the JAR file in your server's
pluginsfolder - Restart the server
On first startup, the plugin generates default configuration files:
plugins/ArcPass/
├── config.yml          # Main configuration
├── database.yml        # Database settings
├── license.yml         # License configuration
├── lang/               # Language files
├── passes/             # Pass configurations
├── quests/             # Quest configurations
├── rewards/            # Reward definitions
└── gui/ # GUI configurationsStep 2: Activate License
Edit plugins/ArcPass/license.yml:
# License key (obtained from KiteMC after purchase)
license-key: "YOUR-LICENSE-KEY-HERE"

# Show license status messages
show-status: trueSave the file and run /arcpass admin reload or restart the server.
How to get a license?
Visit KiteMC License Center to purchase a license. After purchase, you can view your key on the License Management Page.
Step 3: Basic Configuration
3.1 Language Setting
Edit config.yml to set the default language:
locale:
  # Default language for new players
  default: en_US
  # Allow players to change their language
allow-change: true3.2 Database Configuration
Default uses SQLite, no additional setup needed. For MySQL:
# database.yml
type: mysql
mysql:
  host: localhost
  port: 3306
  database: arcpass
  username: root
password: your_passwordStep 4: Start a Season
ArcPass requires an active season to function properly.
Option 1: Using Commands
/arcpass admin season start Season1Option 2: Using Admin GUI
- Run
/arcpass adminto open admin panel - Click "Start Season" button
- Enter season name in chat
- Confirm to start
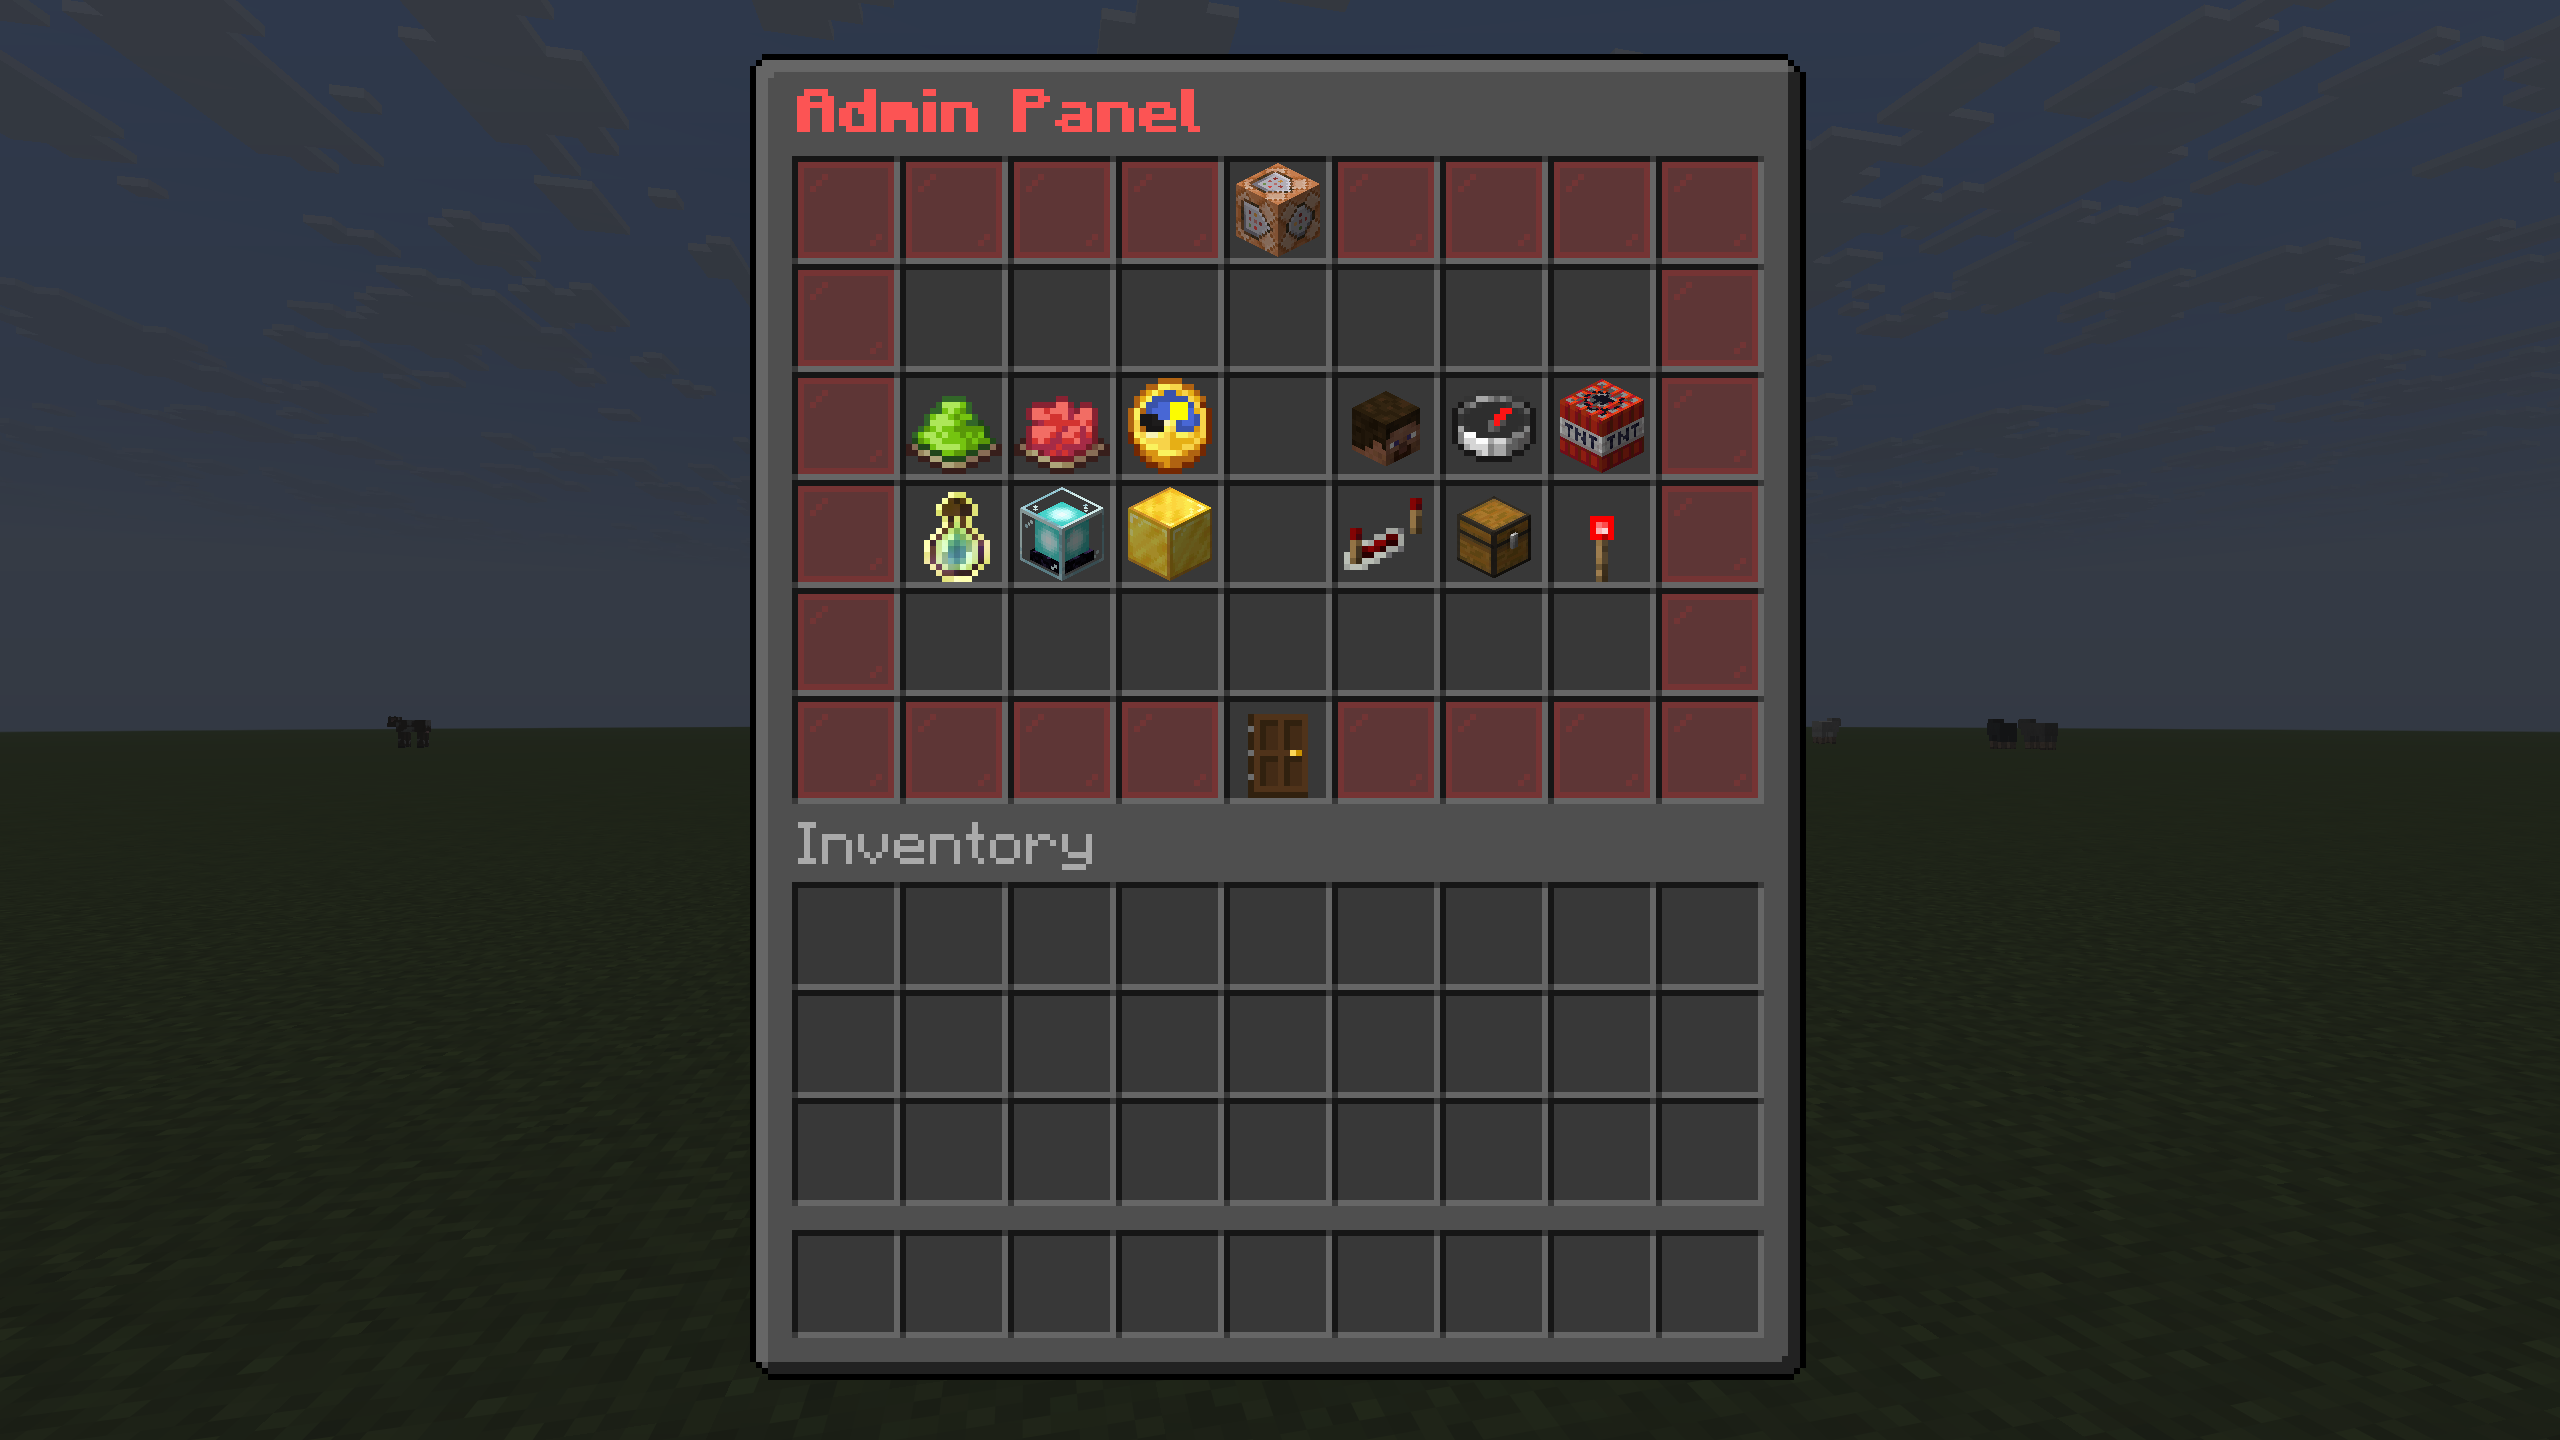
Admin Panel Interface
Step 5: Test Features
Now you can test ArcPass basic features:
| Command | Description |
|---|---|
/arcpass | Open main pass interface |
/arcpass quests | View current quests |
/arcpass level | View level and experience |
/arcpass admin | Open admin panel (requires permission) |
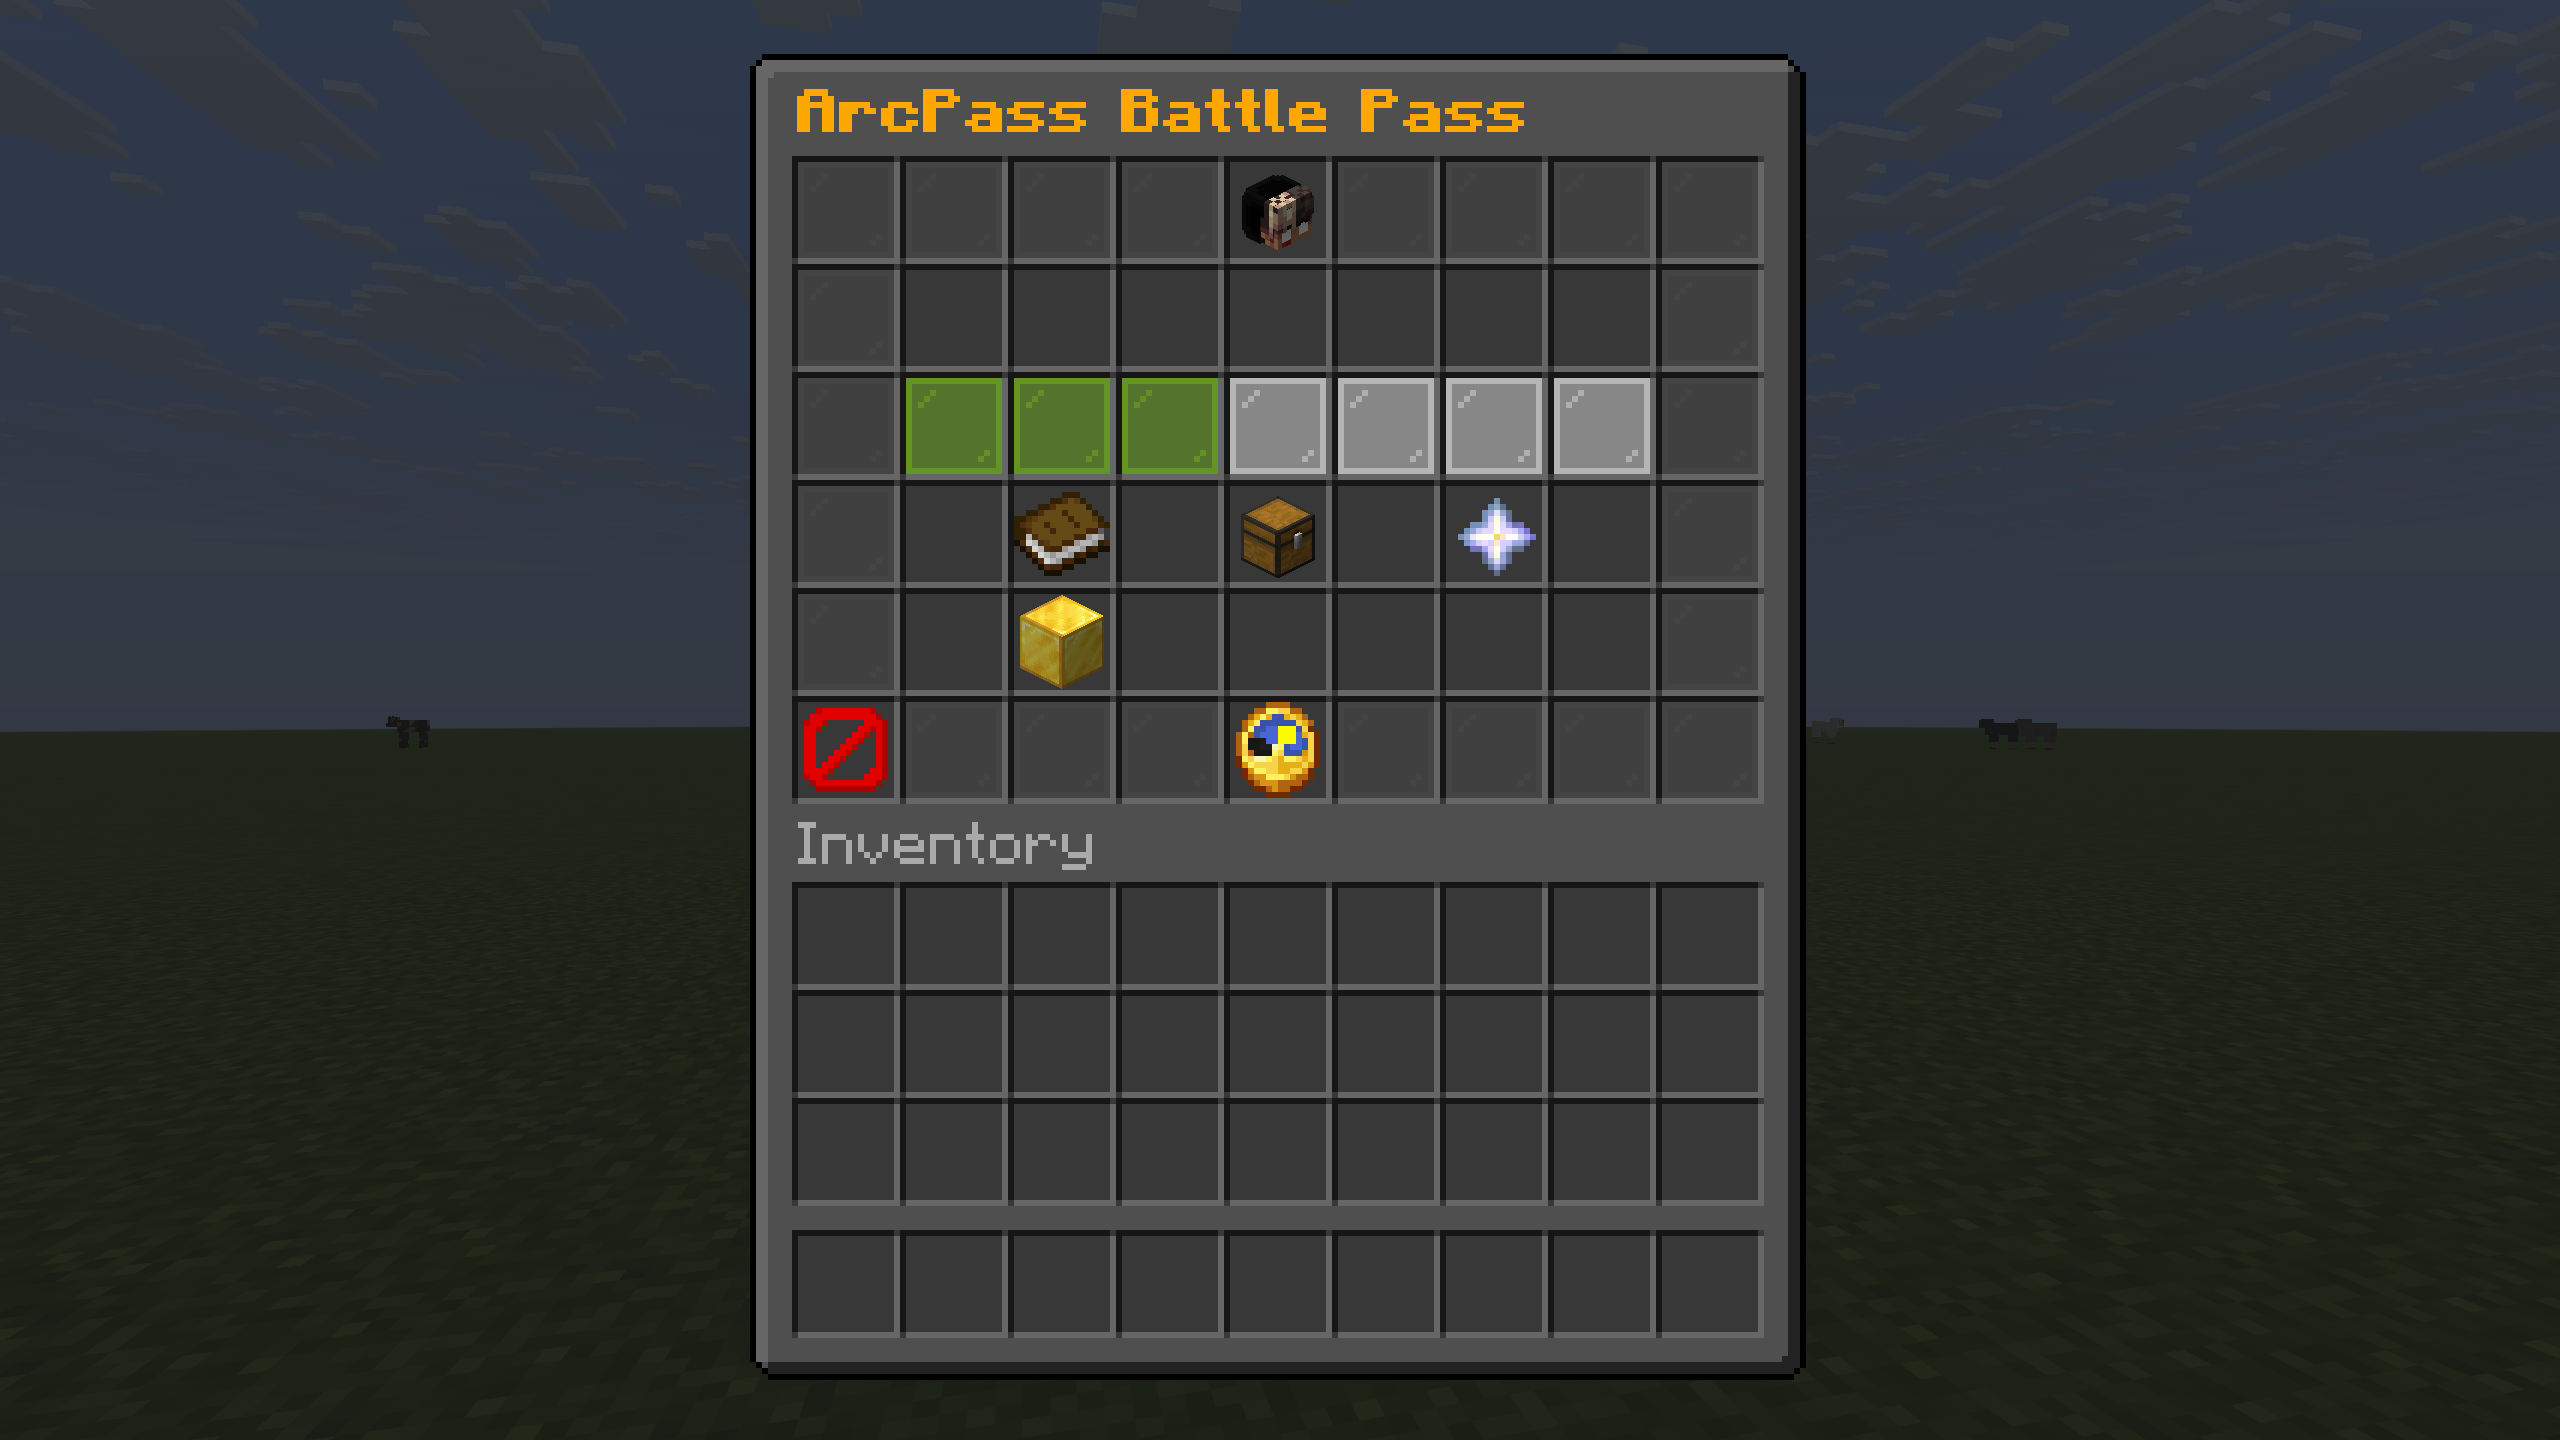
ArcPass Main Menu (/arcpass)
Next Steps
Congratulations! You've completed the basic ArcPass setup. Next you can: